


This guide demonstrates how to integrate a standalone React frontend with a custom backend API, using Neon Auth to handle identity securely.
Unlike frameworks that blend frontend and backend logic (like Next.js), this guide follows a decoupled architecture pattern. You will build a React Single Page Application (SPA) that communicates with a separate Hono server via a REST API.
- Identity (Neon Auth): Handles sign-ups, logins, and issues JSON Web Tokens (JWTs).
- Frontend (React): Manages the user interface and attaches the JWT to API requests as a Bearer token.
- Backend (Hono): A lightweight Node.js server that verifies the token signature using Neon's JWKS endpoint before allowing access to the database.
This approach is ideal when you need a dedicated backend for complex business rules, third-party integrations (like Stripe or OpenAI), or microservices, while still offloading user management complexities to Neon.
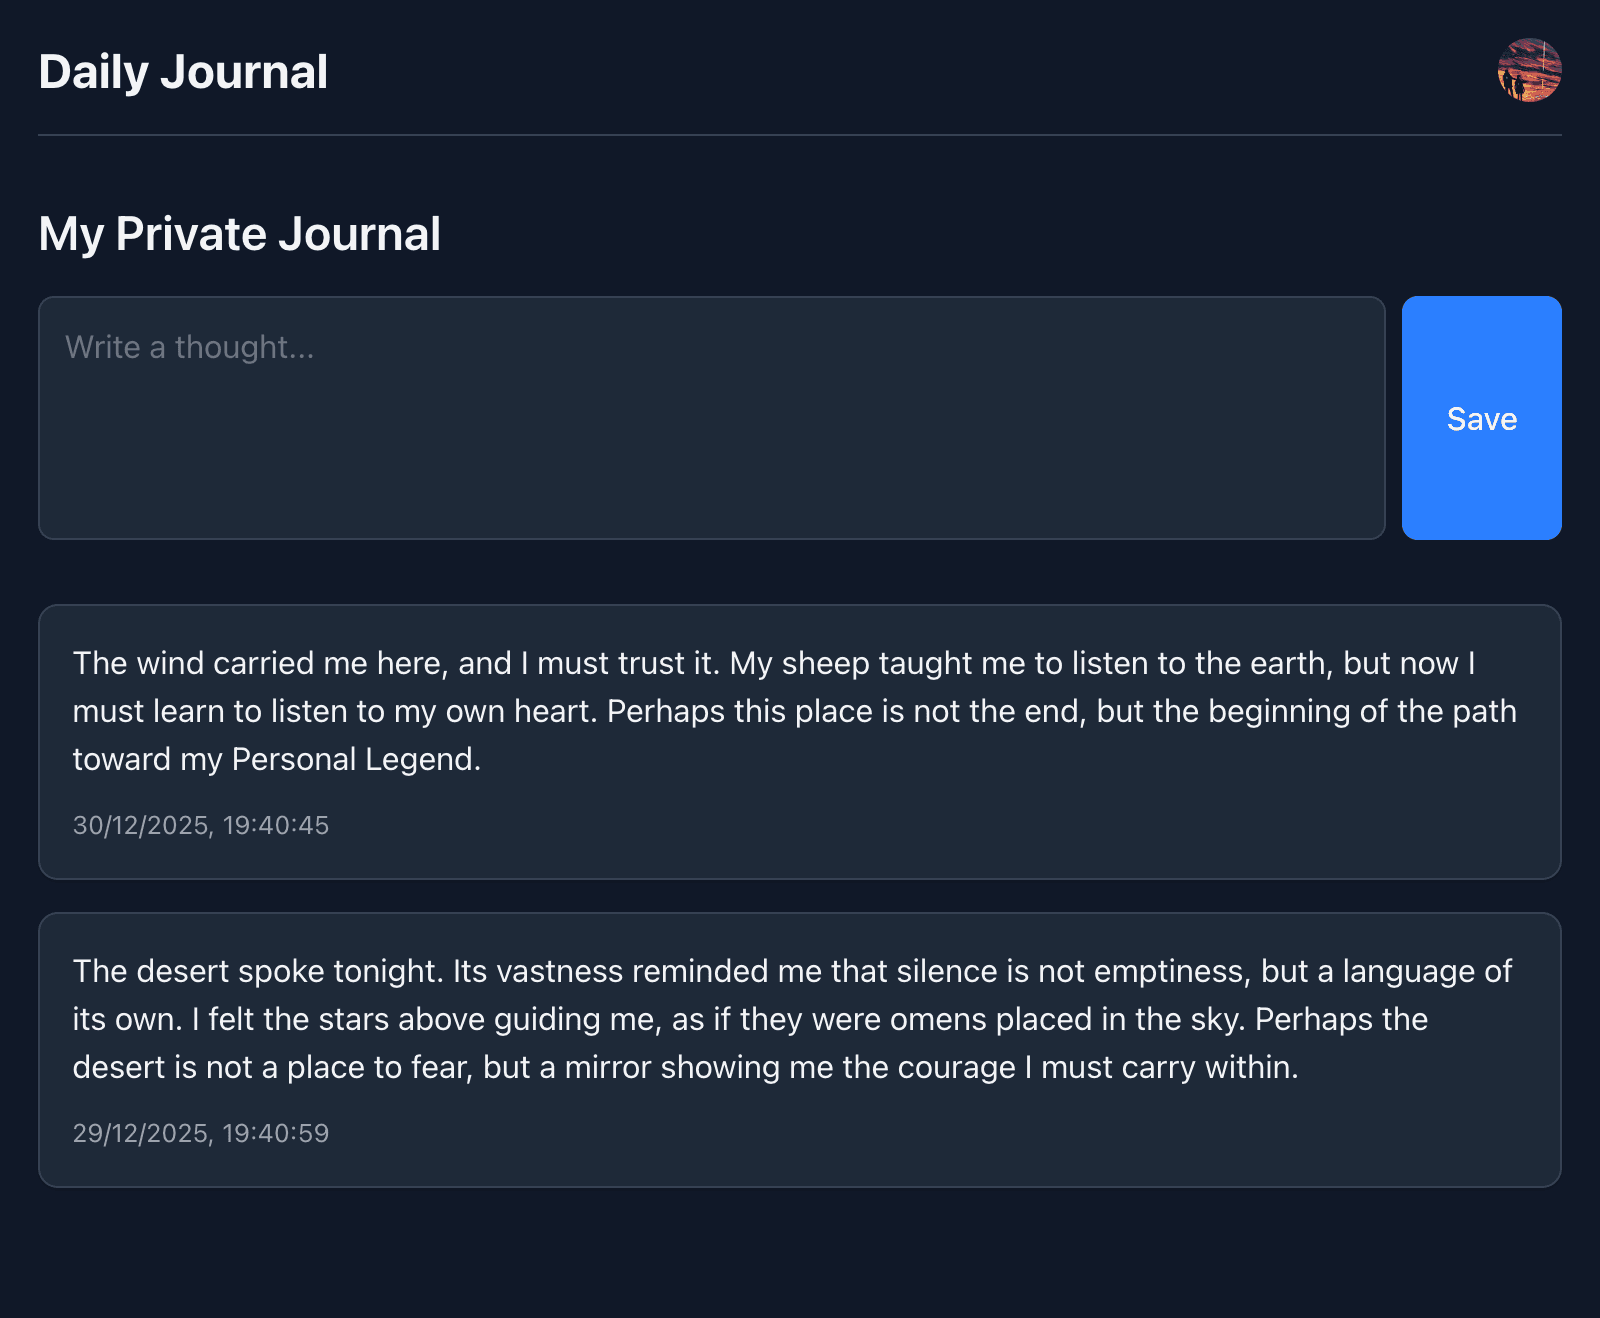
In this tutorial, you will build a Private Journal application where users can securely log in, create, and view their journal entries. The backend will validate JWTs from Neon Auth to ensure that only authenticated users can access their data.
Prerequisites
Before you begin, ensure you have the following:
- Node.js: Version
18or later installed on your machine. You can download it from nodejs.org. - Neon account: A free Neon account. If you don't have one, sign up at Neon.
Create a Neon project with Neon Auth
You'll need to create a Neon project and enable Neon Auth.
-
Create a Neon project: Navigate to pg.new to create a new Neon project. Give your project a name, such as
journal-app. -
Enable Neon Auth:
- In your project's dashboard, go to the Neon Auth tab.
- Click on the Enable Neon Auth button to set up authentication for your project.
-
Copy your credentials:
- Neon Auth URL: Found on the Auth page (e.g.,
https://ep-xxx.neon.tech/neondb/auth).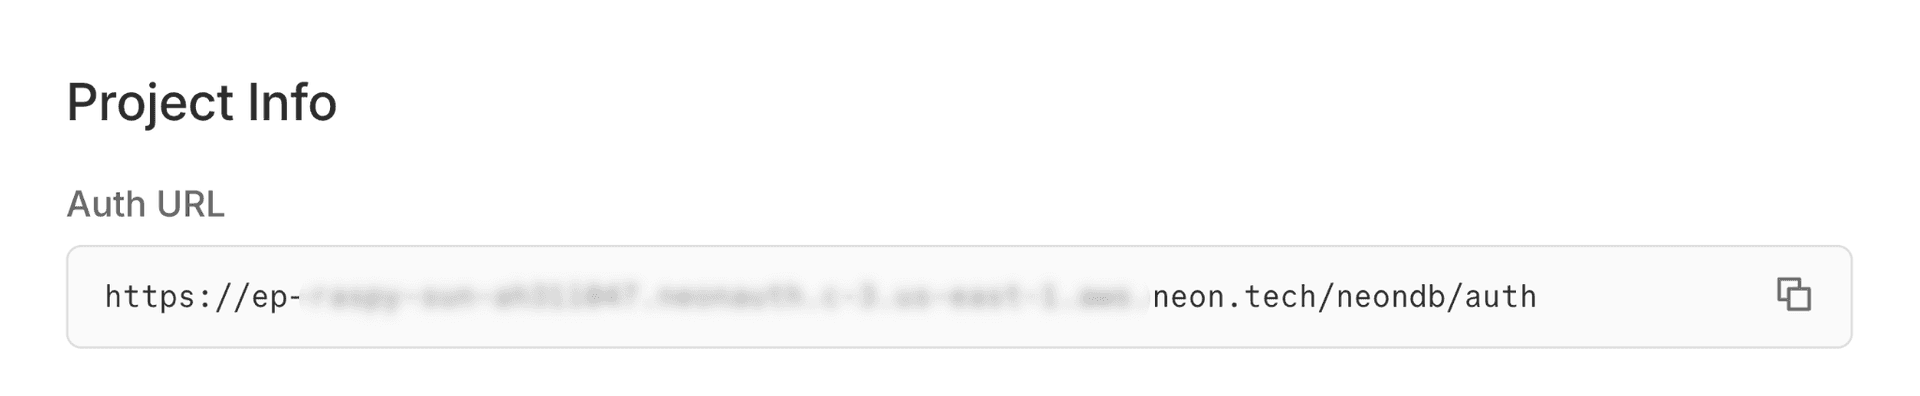
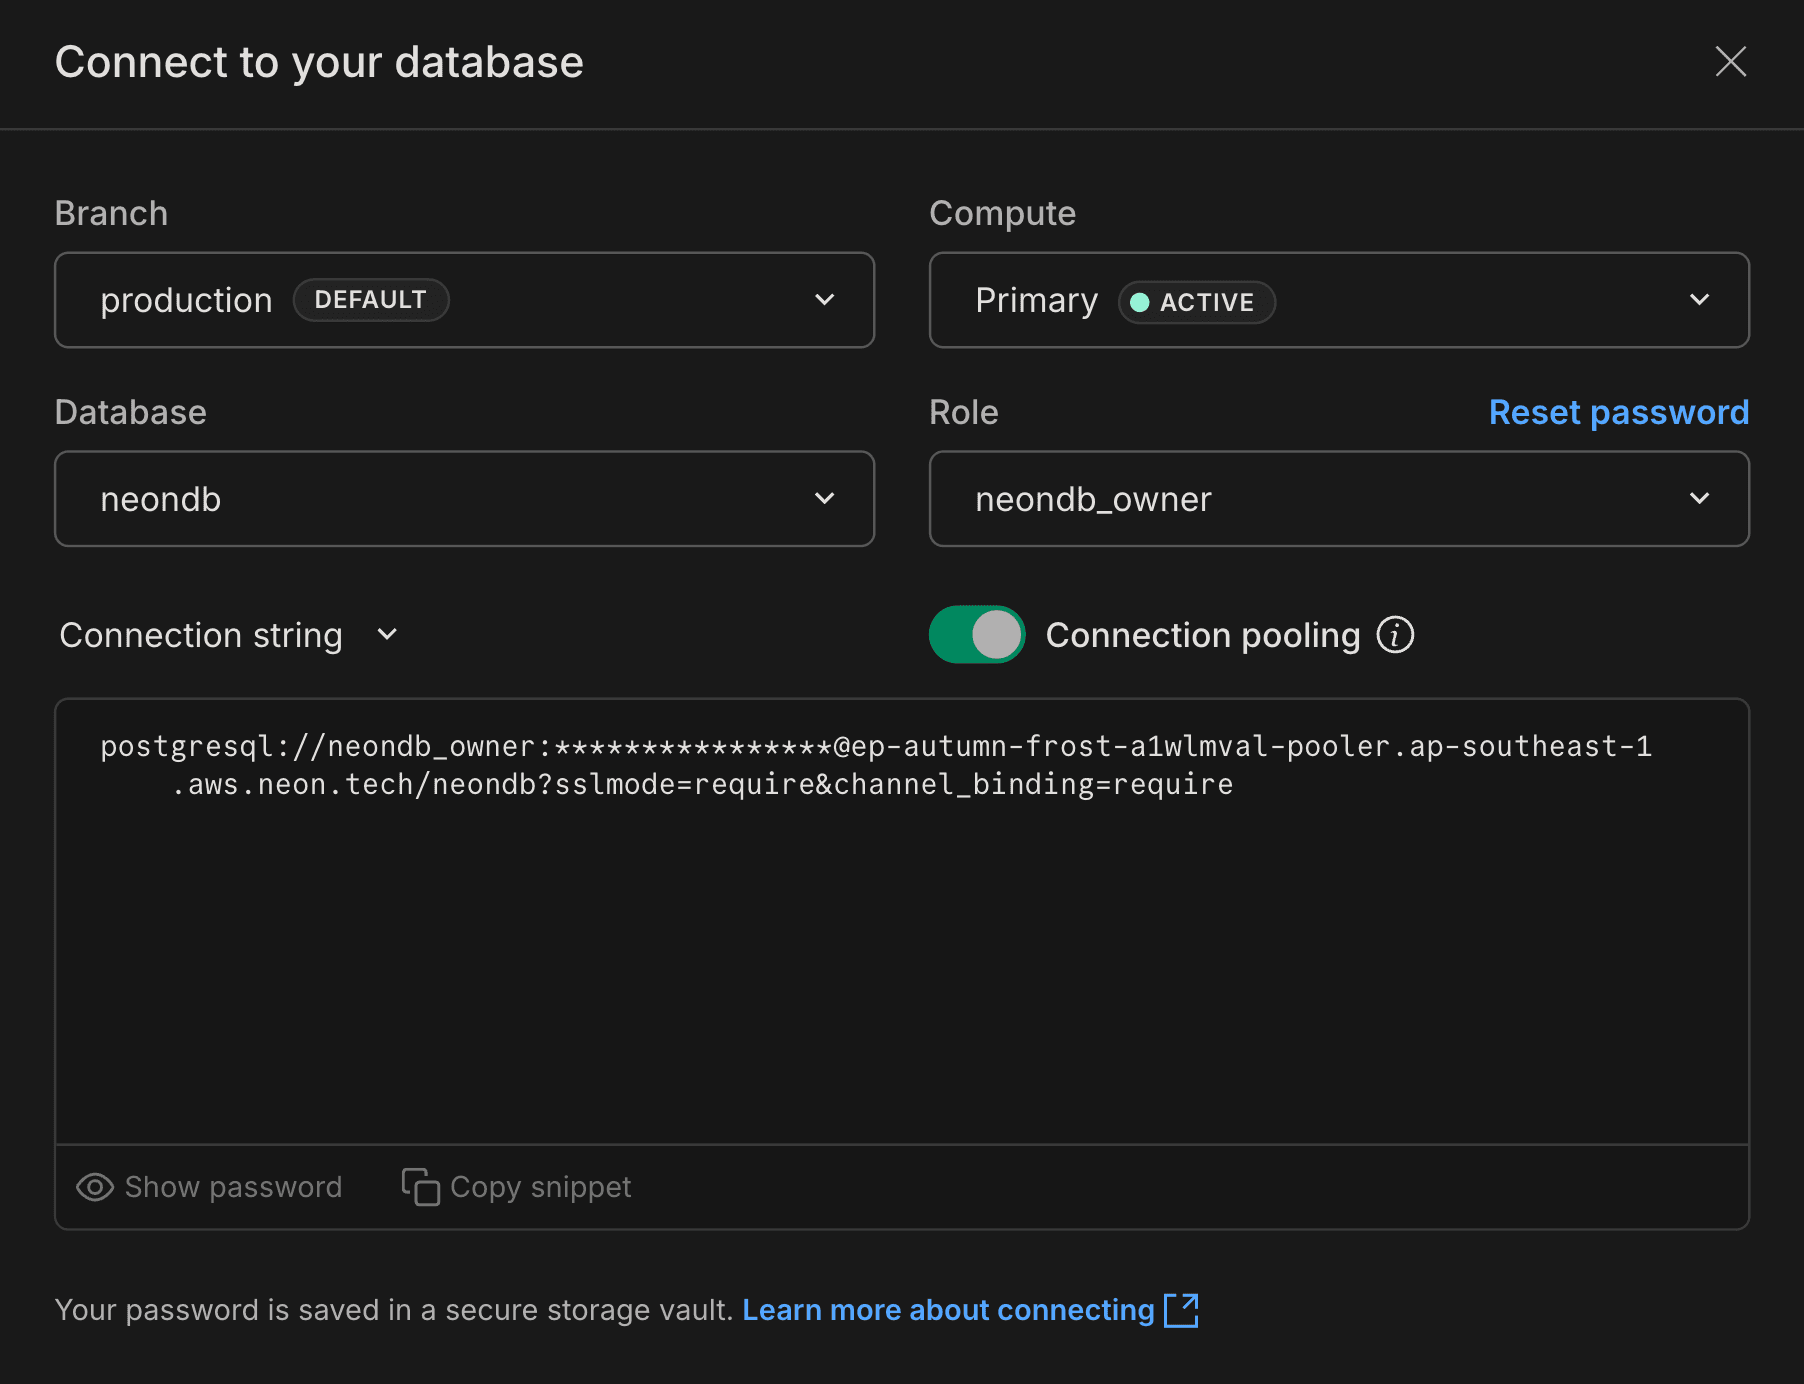
- Database connection string: Found on the Dashboard (select "Pooled connection").
- Neon Auth URL: Found on the Auth page (e.g.,
-
Setup the Backend (Hono)
You will create a Hono backend that verifies JWTs from Neon Auth and persists journal entries to Neon database.
Initialize the backend
In a terminal, run the following commands to create a new Hono project:
npm create hono@latest journal-backendYou can choose the runtime and package manager of your choice. For this guide, Node.js and
npmare used.The output should look like this:
$ npm create hono@latest journal-backend

> npx
> "create-hono" journal-backend

create-hono version 0.19.4
✔ Using target directory … journal-backend
✔ Which template do you want to use? nodejs
✔ Do you want to install project dependencies? Yes
✔ Which package manager do you want to use? npm
✔ Cloning the template
✔ Installing project dependencies
🎉 Copied project files
Navigate into the project directory:
cd journal-backendInstall dependencies
You will need
drizzle-ormand@neondatabase/serverlessfor database access,josefor JWT verification, anddrizzle-kitfor migrations.npm install drizzle-orm @neondatabase/serverless dotenv jose npm install -D drizzle-kitConfigure environment variables
Create a
.envfile injournal-backend/with the following content. Replace the placeholders with your actual Neon database connection string and Neon Auth URL that you copied in the previous step.# From Neon Dashboard DATABASE_URL="postgresql://alex:AbC123dEf@ep-cool-darkness-a1b2c3d4-pooler.us-east-2.aws.neon.tech/dbname?sslmode=require&channel_binding=require" # From Neon Auth Page NEON_AUTH_URL="https://ep-xxx.neon.tech/neondb/auth"Set up Drizzle ORM
Drizzle ORM will help you interact with your Neon Database.
Create
drizzle.config.tsin the root of yourjournal-backend/folder with the following content:import 'dotenv/config'; import type { Config } from 'drizzle-kit'; export default { schema: './src/db/schema.ts', out: './drizzle', dialect: 'postgresql', schemaFilter: ['public', 'neon_auth'], dbCredentials: { url: process.env.DATABASE_URL!, }, } satisfies Config;This config tells Drizzle Kit where to find your database schema and where to output migration files. The
schemaFilteris configured to look at both thepublicandneon_authschemas. Theneon_authschema is where Neon Auth stores its user data.Pull Neon Auth schema
A key feature of Neon Auth is the automatic creation and maintenance of the Better Auth tables within the
neon_authschema. Since these tables reside in your Neon database, you can work with them directly using SQL queries or any Postgres‑compatible ORM, including defining foreign key relationships.To integrate Neon Auth tables into your Drizzle ORM setup, you need to introspect the existing
neon_authschema and generate the corresponding Drizzle schema definitions.This step is crucial because it makes Drizzle aware of the Neon Auth tables, allowing you to create relationships between your application data (like the
journal_entriestable) and the user data managed by Neon Auth.-
Introspect the database: Run the Drizzle Kit
pullcommand to generate a schema file based on your existing Neon database tables.npx drizzle-kit pullThis command connects to your Neon database, inspects its structure, and creates
schema.tsandrelations.tsfiles inside a newdrizzlefolder. This file will contain the Drizzle schema definition for the Neon Auth tables. -
Organize schema files: Create a new directory
src/db. Move the generatedschema.tsandrelations.tsfiles from thedrizzledirectory tosrc/db/schema.tsandsrc/db/relations.tsrespectively.├ 📂 drizzle │ ├ 📂 meta │ ├ 📜 migration.sql │ ├ 📜 relations.ts ────────┐ │ └ 📜 schema.ts ───────────┤ ├ 📂 src │ │ ├ 📂 db │ │ │ ├ 📜 relations.ts <─────┤ │ │ └ 📜 schema.ts <────────┘ │ └ 📜 App.tsx └ … -
Add the Journals table to the schema:
Open
src/db/schema.tsto view theneon_authtables that Drizzle generated from your existing Neon database schema. At the bottom of the file, append thejournalstable definition as shown below. You will also need to import the missing Drizzle types at the top of the file (e.g,bigint).import { pgTable, pgSchema, uuid, text, timestamp, unique, boolean, bigint, } from 'drizzle-orm/pg-core'; import { sql } from 'drizzle-orm'; export const neonAuth = pgSchema('neon_auth'); // .. other Neon Auth table definitions .. export const userInNeonAuth = neonAuth.table( 'user', { id: uuid().defaultRandom().primaryKey().notNull(), name: text().notNull(), email: text().notNull(), emailVerified: boolean().notNull(), image: text(), createdAt: timestamp({ withTimezone: true, mode: 'string' }) .default(sql`CURRENT_TIMESTAMP`) .notNull(), updatedAt: timestamp({ withTimezone: true, mode: 'string' }) .default(sql`CURRENT_TIMESTAMP`) .notNull(), role: text(), banned: boolean(), banReason: text(), banExpires: timestamp({ withTimezone: true, mode: 'string' }), }, (table) => [unique('user_email_key').on(table.email)] ); export const journalEntries = pgTable('journal_entries', { id: bigint('id', { mode: 'number' }).primaryKey().generatedByDefaultAsIdentity(), userId: uuid('user_id') .notNull() .references(() => userInNeonAuth.id), content: text('content').notNull(), createdAt: timestamp('created_at').defaultNow(), });The
journal_entriestable contains the following columns:id,user_id,contentandcreated_at. It is linked to theusertable in theneon_authschema via a foreign key relationship on theuser_idcolumn.
Generate and apply migrations
Now, generate the SQL migration file to create the
journal_entriestable.npx drizzle-kit generateThis creates a new SQL file in the
drizzledirectory. Apply this migration to your Neon database by running:Issue with commented migrations
This is a known issue in Drizzle. If
drizzle-kit pullgenerated an initial migration file (e.g.,0000_...sql) wrapped in block comments (/* ... */),drizzle-kit migratemay fail with anunterminated /* commenterror.To resolve this, manually delete the contents of the
0000_...sqlfile or replace the block comments with line comments (--).npx drizzle-kit migrateYour
journal_entriestable now exists in your Neon database. You can verify this in the Tables section of your Neon project dashboard.Create the Hono server
Update
src/index.tswith the following code to set up the Hono server with JWT verification and routes for managing journal entries.import { serve } from '@hono/node-server'; import { Hono, type Context, type Next } from 'hono'; import { cors } from 'hono/cors'; import { neon } from '@neondatabase/serverless'; import { drizzle } from 'drizzle-orm/neon-http'; import { eq, desc } from 'drizzle-orm'; import * as jose from 'jose'; import { journalEntries } from './db/schema.js'; import 'dotenv/config'; type AppVariables = { userId: string }; const app = new Hono<{ Variables: AppVariables }>(); const sql = neon(process.env.DATABASE_URL!); const db = drizzle(sql); const JWKS = jose.createRemoteJWKSet( new URL(`${process.env.NEON_AUTH_URL}/.well-known/jwks.json`) ); const authMiddleware = async (c: Context<{ Variables: AppVariables }>, next: Next) => { const authHeader = c.req.header('Authorization'); if (!authHeader || !authHeader.startsWith('Bearer ')) { return c.json({ error: 'Unauthorized' }, 401); } const token = authHeader.split(' ')[1]; try { const { payload } = await jose.jwtVerify(token, JWKS, { issuer: new URL(process.env.NEON_AUTH_URL!).origin, }); if (!payload.sub) { return c.json({ error: 'Invalid Token' }, 401); } c.set('userId', payload.sub); await next(); } catch (err) { console.error('Verification failed:', err); return c.json({ error: 'Invalid Token' }, 401); } }; app.use( '/*', cors({ origin: process.env.FRONTEND_URL || 'http://localhost:5173', allowMethods: ['GET', 'POST', 'PUT', 'DELETE'], allowHeaders: ['Content-Type', 'Authorization'], }) ); app.get('/api/entries', authMiddleware, async (c) => { const userId = c.get('userId'); const entries = await db .select() .from(journalEntries) .where(eq(journalEntries.userId, userId)) .orderBy(desc(journalEntries.createdAt)); return c.json(entries); }); app.post('/api/entries', authMiddleware, async (c) => { const userId = c.get('userId'); const { content } = await c.req.json(); const [newEntry] = await db.insert(journalEntries).values({ userId, content }).returning(); return c.json(newEntry); }); serve( { fetch: app.fetch, port: 3000, }, (info) => { console.log(`Backend server running at http://localhost:${info.port}`); } );The code above does the following:
-
Server setup
- Initializes a Hono server running on port 3000.
- Configures CORS to allow requests from
http://localhost:5173with common HTTP methods and headers. In a production environment, adjust the CORS settings to match your frontend's domain.
-
Database integration
- Connects to a Neon Postgres database using the
@neondatabase/serverlessclient. - Utilizes Drizzle ORM for database operations.
- Uses the
journalEntriesschema to store and retrieve user journal data.
- Connects to a Neon Postgres database using the
-
Authentication middleware
- Implements middleware that checks for a Bearer token in the
Authorizationheader. - Verifies the token against Neon Auth’s JWKS endpoint using the
joselibrary. - Extracts the authenticated user’s ID (
sub) and attaches it to the request context. - Rejects requests with invalid or missing tokens, returning
401 Unauthorized.
- Implements middleware that checks for a Bearer token in the
-
API endpoints
-
GET
/api/entries
Retrieves all journal entries belonging to the authenticated user, ordered by creation date (newest first). -
POST
/api/entries
Accepts JSON input withcontent, creates a new journal entry tied to the authenticated user, and returns the newly created entry.
-
This backend securely handles user authentication and data persistence, ensuring that only authenticated users can access and modify their journal entries.
Start the backend
npm run devYour backend server should now be running at
http://localhost:3000. Now that the backend is set up, you can proceed to create the React frontend.-
Setup the Frontend (React)
Now you will build the React frontend that handles user authentication and interacts with the backend API.
Initialize React
Open a new terminal window (leave the backend running) and create the frontend.
npm create vite@latest journal-frontend -- --template react-tsWhen prompted:
- Select "No" for "Use rolldown-vite (Experimental)?"
- Select "No" for "Install with npm and start now?"
You should see output like this:
$ npm create vite@latest journal-frontend -- --template react-ts

> npx
> "create-vite" journal-frontend --template react-ts

│
◇  Use rolldown-vite (Experimental)?:
│  No
│
◇  Install with npm and start now?
│  No
│
◇  Scaffolding project in /home/journal-frontend...
│
└  Done.
Install dependencies
Navigate into the project directory and install the required dependencies:
cd journal-frontend && npm install
npm install @neondatabase/neon-js react-router
Configure Tailwind CSS
Install Tailwind CSS and the Vite plugin:
npm install tailwindcss @tailwindcss/viteAdd the
@tailwindcss/viteplugin to your Vite configuration (vite.config.ts):import { defineConfig } from 'vite'; import react from '@vitejs/plugin-react'; import tailwindcss from '@tailwindcss/vite'; export default defineConfig({ plugins: [ react(), tailwindcss(), ], });Configure environment variables
Create
.envinjournal-frontend/:VITE_NEON_AUTH_URL="https://ep-xxx.neon.tech/neondb/auth" VITE_API_URL="http://localhost:3000/api"Initialize Auth client
Create
src/neon.tswith the following content to initialize the Neon Auth client:import { createAuthClient } from '@neondatabase/neon-js/auth'; export const authClient = createAuthClient(import.meta.env.VITE_NEON_AUTH_URL);Update application entry point
Update
src/main.tsxto wrap your app in theNeonAuthUIProviderandBrowserRouterto enable routing and provide authentication context throughout the app.import { StrictMode } from 'react'; import { createRoot } from 'react-dom/client'; import { BrowserRouter } from 'react-router'; import { NeonAuthUIProvider } from '@neondatabase/neon-js/auth/react/ui'; import App from './App.tsx'; import { authClient } from './neon.ts'; import './index.css'; createRoot(document.getElementById('root')!).render( <StrictMode> <NeonAuthUIProvider authClient={authClient} emailOTP social={{ providers: ['google'] }}> <BrowserRouter> <App /> </BrowserRouter> </NeonAuthUIProvider> </StrictMode> );Update global styles
Replace the content of
src/index.csswith the following minimal Tailwind CSS setup:@import 'tailwindcss'; @import '@neondatabase/neon-js/ui/tailwind'; :root { font-family: system-ui, sans-serif; line-height: 1.5; font-weight: 400; color: #0f172a; background-color: #f3f4f6; text-rendering: optimizeLegibility; -webkit-font-smoothing: antialiased; -moz-osx-font-smoothing: grayscale; } body { margin: 0; min-height: 100vh; background: #000000; }This also includes Neon Auth's Tailwind styles required for the authentication components to render correctly.
Create Auth and Account pages
Neon provides pre‑built UI components for handling the complete flow of authentication, including Sign In, Sign Up, and Account management.
As outlined in the Neon Auth React UI guide, you can use the
AuthViewandAccountViewcomponents to quickly set up these pages.Create
src/pages/Auth.tsx:import { AuthView } from '@neondatabase/neon-js/auth/react/ui'; import { useParams } from 'react-router'; export default function AuthPage() { const { pathname } = useParams(); return ( <div className="bg-gray-50 flex min-h-screen items-center justify-center p-8"> <AuthView pathname={pathname} /> </div> ); }Create
src/pages/Account.tsx:import { AccountView } from '@neondatabase/neon-js/auth/react/ui'; import { useParams } from 'react-router'; export default function AccountPage() { const { pathname } = useParams(); return ( <div className="bg-gray-50 flex min-h-screen items-center justify-center p-8"> <AccountView pathname={pathname} /> </div> ); }Create API helper
Create
src/api.ts. This helper manages fetching the JWT and attaching it to requests.import { authClient } from './neon'; const API_URL = import.meta.env.VITE_API_URL; export const api = { request: async (endpoint: string, options: RequestInit = {}) => { const { data } = await authClient.getSession(); const token = data?.session?.token; if (!token) { throw new Error('No active session'); } const headers = { 'Content-Type': 'application/json', Authorization: `Bearer ${token}`, ...options.headers, }; const response = await fetch(`${API_URL}${endpoint}`, { ...options, headers, }); if (!response.ok) throw new Error('API Request Failed'); return response.json(); }, getEntries: () => api.request('/entries'), createEntry: (content: string) => api.request('/entries', { method: 'POST', body: JSON.stringify({ content }), }), };The
apiobject provides methods to interact with the backend API. It retrieves the current session's JWT usingauthClient.getSession(), attaches it as a Bearer token in theAuthorizationheader, and performs fetch requests to the backend.Modify App component
Modify
src/App.tsxto implement the journal UI and routes.import { useState, useEffect } from 'react'; import { RedirectToSignIn, SignedIn, UserButton } from '@neondatabase/neon-js/auth/react/ui'; import { api } from './api'; import { Route, Routes } from 'react-router'; import Auth from './pages/Auth'; import Account from './pages/Account'; type Entry = { id: number; content: string; createdAt: string }; function Journal() { const [entries, setEntries] = useState<Entry[]>([]); const [newEntry, setNewEntry] = useState(''); useEffect(() => { api.getEntries().then(setEntries).catch(console.error); }, []); const handleSubmit = async (e: React.FormEvent) => { e.preventDefault(); if (!newEntry) return; const entry = await api.createEntry(newEntry); setEntries([entry, ...entries]); setNewEntry(''); }; return ( <div className="bg-gray-50 text-gray-900 dark:bg-gray-900 dark:text-gray-100 min-h-screen"> <div className="mx-auto max-w-4xl p-6"> <header className="border-gray-200 dark:border-gray-700 mb-8 flex items-center justify-between border-b pb-4"> <span className="text-2xl font-bold">Daily Journal</span> <UserButton size="icon" /> </header> <SignedIn> <h1 className="mb-4 text-2xl font-semibold">My Private Journal</h1> <form onSubmit={handleSubmit} className="mb-8 flex gap-2"> <textarea className="border-gray-300 text-gray-900 placeholder-gray-400 focus:ring-blue-500 dark:border-gray-700 dark:bg-gray-800 dark:text-gray-100 dark:placeholder-gray-500 flex-1 resize-none rounded-md border bg-white p-3 focus:outline-none focus:ring-2" rows={4} value={newEntry} onChange={(e) => setNewEntry(e.target.value)} placeholder="Write a thought..." /> <button className="bg-blue-600 hover:bg-blue-700 dark:bg-blue-500 dark:hover:bg-blue-600 min-w-[80px] rounded-md px-4 py-2 font-medium text-white"> Save </button> </form> <div className="space-y-4"> {entries.map((entry) => ( <div key={entry.id} className="border-gray-200 dark:border-gray-700 dark:bg-gray-800 rounded-lg border bg-white p-4 shadow-sm" > <p className="mb-2">{entry.content}</p> <small className="text-gray-500 dark:text-gray-400"> {new Date(entry.createdAt).toLocaleString()} </small> </div> ))} </div> </SignedIn> <RedirectToSignIn /> </div> </div> ); } export default function App() { return ( <Routes> <Route path="/" element={<Journal />} /> <Route path="/auth/:pathname" element={<Auth />} /> <Route path="/account/:pathname" element={<Account />} /> </Routes> ); }This code implements the main journal functionality:
- Journal component:
- Fetches and displays journal entries for the authenticated user.
- Provides a form to create new journal entries.
- Uses the
apihelper to interact with the backend.
- App component:
- The main application component that sets up routing for the journal, authentication, and account management pages.
Start the frontend
Run the React development server:
npm run devTest the application
-
Navigate to
http://localhost:5173. -
Sign In: You will be presented with the Neon Auth sign-in page. Create an account or log in using your preferred method (email or Google).
-
Write a Journal Entry: Write a new journal entry in the textarea and click "Save".
-
Verify flow:
- The Frontend calls
authClient.getSession()to grab the session data (which includes the JWT). - It sends a
POSTrequest tohttp://localhost:3000/api/entrieswithAuthorization: Bearer <jwt>. - The backend validates the signature using the JWKS from Neon.
- The backend extracts your User ID and saves the entry to Neon.
- The entry appears in your list.
- The Frontend calls
-
Next steps
- Deploy the backend: Host your Hono server on any Node.js‑compatible platform such as Render, Cloudflare, or Vercel.
- Deploy the frontend: Publish your React application to platforms like Vercel, Netlify, or any static site host.
- Configure environment variables: Update the environment variables in your frontend and backend deployments with the appropriate production URLs. Update the CORS settings in your backend to allow requests from your frontend's domain.
- Configure trusted domains: Add your frontend’s production URL to the Your trusted domains section in Neon Auth to ensure authentication functions correctly.
- Finalize production setup: Review the Neon Auth production checklist to confirm your application is secure and optimized for deployment.
Conclusion
In this guide, you built a decoupled application with a React frontend and a custom Hono backend, secured by Neon Auth.
By using JSON Web Tokens (JWTs) as the bridge between your client and server, you established a secure pattern that scales beyond this specific stack. While this guide used Node.js and Hono, the underlying architecture validating a standard JWT against a public JWKS endpoint works with any backend language or framework.
You can apply these exact same steps to build secure backends in:
- Python: Using FastAPI or Flask with libraries like
PyJWT. - Go: Using standard
net/httpor Gin withgolang-jwt. - Rust: Using Axum or Actix with the
jsonwebtokencrate.
The core principle remains constant: authenticate the user on the client, pass the token in the header, and cryptographicially verify it on the server before executing your business logic.
Source code
The complete source code for this example is available on GitHub:
Resources
- Neon Auth Overview
- Neon Auth JWT Plugin
- React with Neon Auth UI (UI Components)
- Use Neon Auth with React (API methods)
- Neon Auth & Data API TypeScript SDKs
- Connect a Hono application to Neon
- Getting started with the HONC (Hono, Drizzle ORM, Neon, and Cloudflare) stack
Need help?
Join our Discord Server to ask questions or see what others are doing with Neon. For paid plan support options, see Support.